How to Weather Dioramas Using Professional Alcohol Ink Techniques
The Magic of Weathering and Deterioration
Building a machine or a model is only half the battle. The real soul of a build—the part that tells a story—comes from the weathering. If you leave a pristine finish on a diorama, it looks like a toy. If you add grime, rust, and environmental wear, it looks like a piece of a living universe. Using Alcohol Inks allows you to achieve a level of organic depth that standard acrylics often struggle to replicate. These inks are thinner than water, incredibly intense, and evaporate almost instantly, making them a high-stakes but high-reward tool for any serious builder.
Essential Tools and Materials
To get started with professional-grade weathering, you need more than just a brush. You need a setup that allows for both precision and controlled chaos.
- Airbrush: An Iwata is a industry favorite for its reliability and fine control.
- Alcohol Inks: Brands vary, but start with earthy tones like umbers, caramels, and deep browns.
- Solvent: Keep a bottle of Denatured Alcohol nearby to act as your "breaker."
- Atomizer: A fine mist bottle is critical. Big spritzers create large, clunky droplets that ruin the scale.
- Specialty Stains: Consider Antler Paint or taxidermy stains for high-pigment accents that remain water-soluble.
Step-by-Step Instructions for Organic Grime
- Base Fogging: Start by loading your airbrush with a base weathering color, such as a caramel or burnt umber. Apply broad, light strokes around the nooks and crannies of your model. Don't worry about precision yet; you are staging the pigment for the next step.
- Atomizing the Surface: Use your atomizer to mist the surface with denatured alcohol. Watch as the alcohol hits the dry ink. It will "break" the pigment, causing it to pool and run into the recesses of the sculpt. This creates the variegated, non-uniform look of real-world dirt.
- Manual Manipulation: While the surface is still slightly damp, use a dry brush or a makeup sponge to move the ink. You can create oily drips by tilting the model and letting the ink run, or use a sponge to break up harsh edges.
- Layering Colors: Once the first layer evaporates—which happens in seconds—repeat the process with a darker or contrasting tone. Layering two similar colors provides a depth of field that a single coat cannot achieve.
- Adding High-Pigment Accents: For deep cracks, use a tiny amount of high-pigment stain like antler paint. Since these often lack a binder, you can reactivate them with water or alcohol to keep them moving until you get the perfect gradient.
Mastery Through Reference and Restraint
Expert builders like Anthony Mestas and Adam Savage emphasize that the best reference is the real world. Stop and photograph a deteriorating brick wall or a rusty pipe. You'll notice that nature is weird; it doesn't weather in uniform patterns. When you translate this to your model, the biggest mistake you can make is overcommitting.
Go light. You can always add more grime, but stripping it back is a nightmare. Working with alcohol inks is like managing a small ecosystem on your model’s surface. Let the chemistry do some of the work for you. The serendipity of a "happy accident"—where pigment pools in an unexpected way—often looks more realistic than anything you could painstakingly paint by hand.
Troubleshooting and Clear Coats
Alcohol inks stay solvent-sensitive forever. If you hit your finished work with a heavy, wet clear coat, you might reactivate the ink and watch your hours of weathering slide off the model. The fix is a "dusting" technique. Apply several extremely light passes of clear coat first. Let these dry to create a barrier before you go in with a final, heavier protective layer. If you find your colors are getting muddy, pause and walk away. Coming back with fresh eyes helps you see where the detail is popping and where it has become a "five-gallon bucket of brown paint" soup.
Conclusion: The Icing on the Cake
Weathering is the final polish that ties a project together. By mastering alcohol inks and the art of the "break," you move beyond simple painting and into the realm of storytelling. Whether you are working on a Han Solo diorama or a custom PC case, these techniques provide the grit and realism that define high-end craftsmanship.
- Adam Savage
- 9%· people
- Alcohol Inks
- 9%· products
- Anthony Mestas
- 9%· people
- Antler Paint
- 9%· products
- Denatured Alcohol
- 9%· products
- Other topics
- 55%
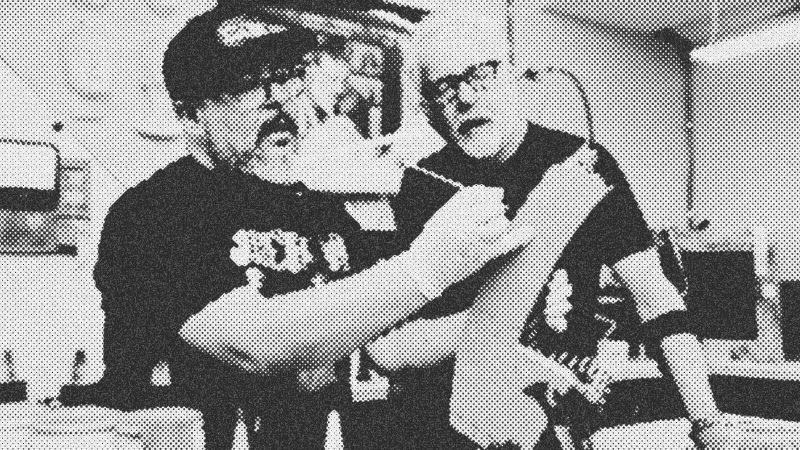
Adam Savage Learns a New Modelmaking Technique!
WatchAdam Savage’s Tested // 26:44

Adam Savage’s Tested is a content platform and community playground for makers and curious minds. On Tested.com, the highly- engaged Tested YouTube channel, and at conventions and events, dynamic makers share ideas and inspire each other to build their obsessions. Led by Adam Savage, the Tested team explores the intersection of science, popular culture, and emerging technology, showing how we are all makers. Adam also takes viewers behind the scenes of films, TV shows, theater, and museums, shining a spotlight on the craftspeople and artists who make the magic we all enjoy. Tested is also: Norman Chan, Joey Fameli, Josh Self, Kristen Lomasney and Thomas Crenshaw.