Mastering the Prerunner: A Guide to High-Performance Fabrication
Constructing the Structural Backbone
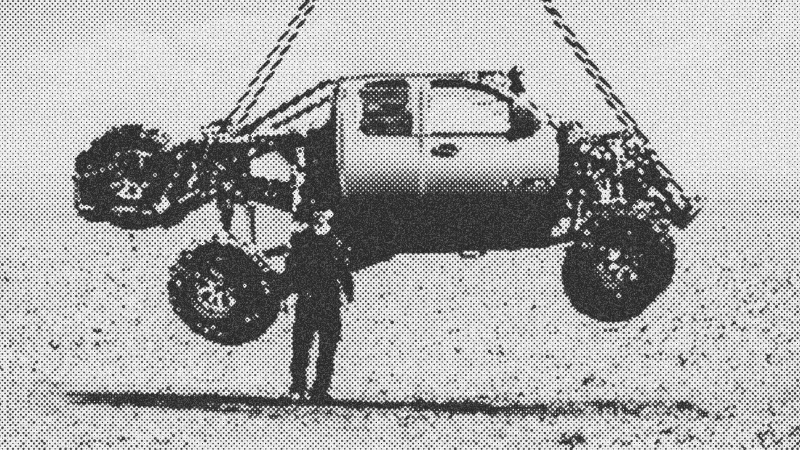
Building a street-legal prerunner requires more than just bolting on parts; it demands a total reimagining of the vehicle's structural integrity. You begin with the roll cage, which often needs to be wider than the factory frame to provide adequate occupant safety and mounting points for long-travel suspension. In this build, extending the frame to meet the cage is a necessity. Using heavy-wall tubing and precise welding, the cage becomes the primary skeleton. This isn't just about safety; it’s about rigidity. A stiff chassis allows the suspension to do its job without the frame twisting like a noodle during high-speed desert runs.
Inside the cab, the layout must balance race-ready utility with ergonomics. Integrating a custom center console that fits snugly against the factory dash allows for the installation of essential controls: master disconnects, intercoms, and radio controllers. The trick is making these systems accessible. Designing a console with removable side panels ensures that as your wiring evolves from a simple harness to a complex 1,000-horsepower management system, you aren't fighting confined spaces to make a repair.
Advanced Suspension and Engine Geometry
The heart of a prerunner's performance lies in its ability to soak up massive impacts. This requires an intricate dance between the engine cage and shock mounting points. When building the engine hoop, use small 5-degree bends to keep the tubing tight against the engine bay components while maintaining strength. For the suspension, locating the shocks at a 90-degree angle to the trailing arms at full bottom-out ensures the most efficient dampening during those big landings.
Lowering the motor—about an inch and a half in this case—using custom-fabricated mounts helps lower the center of gravity, improving stability at high speeds. Protecting your investment is equally vital. Most builders place the coil-over in front of the bypass shock. This configuration uses the coil spring as a natural armor against flying rocks and debris, shielding the expensive bypass valves from damage during aggressive off-road use.
Precision Components and Thermal Fitting
As the build moves into the "Stage 2" phase, the focus shifts to precision machining. When standard fuel injectors are too short for a new rail, custom spacers become the solution. Rather than guessing, 3D printing templates allows you to test the fit and bolt spacing multiple times before committing to metal. This iterative process is crucial when dealing with 70 PSI of fuel pressure; a failure here doesn't just stall the truck—it risks a total loss from fire.
One of the most satisfying techniques in advanced fabrication is the thermal interference fit. To seat a component perfectly, heat the receiving end to roughly 250 degrees while cooling the insert to near zero. The resulting expansion and contraction allow the parts to slip together effortlessly, creating a permanent, rock-solid bond once temperatures equalize. This method provides a level of precision that traditional pressing sometimes lacks.
Tools and Materials Needed
- Fabrication Tools: TIG/MIG welder, tube bender, Bridgeport mill, and a 3D printer for prototyping.
- Materials: 4130 Chromoly tubing for the cage, aluminum plate for custom brackets, and high-quality fuel injectors.
- Services: SendCutSend for laser-cut and tapped aluminum parts to save time on complex geometries.
Tips and Troubleshooting
- Header Clearance: Always install all engine accessories before building your headers. This prevents the common headache of finding out your exhaust interferes with the alternator or power steering pump.
- Wiring Simplicity: Don't be afraid to prune a factory wiring harness. Removing unused circuits reduces clutter and potential points of failure.
- Turbo Placement: When mounting large twin turbos, prioritize the merge collector first. This fixed point dictates where the rest of the plumbing must go, simplifying the header build.
Conclusion
Building a 1,000-horsepower prerunner is a multi-year commitment involving thousands of hours and nearly $90,000 in parts. However, the result is a vehicle that defies the limits of traditional off-roading. By combining old-school welding techniques with modern 3D prototyping and laser-cutting services, you create a machine capable of handling both Michigan sand dunes and high-speed desert racing. The ultimate benefit is a vehicle that isn't just fast—it's a testament to your growth as a fabricator.
- Bridgeport
- 17%· companies
- fuel injectors
- 17%· products
- Milwaukee
- 17%· companies
- prerunner
- 17%· products
- SendCutSend
- 17%· companies
- turbocharger
- 17%· products
Building an INSANE Street Legal Prerunner (FULL 6 year build)
WatchProp Department // 24:57

Hi I'm Tyler Fever, aspiring mad scientist learning engineering with no degree. I'm building extreme vehicles, robots, props, and more. With every project I push myself to learn something new and build my skills so I can make an impact on the world. Join me! Instagram @propdepartment Facebook: https://www.facebook.com/share/1DSVKpMNhw/?mibextid=wwXIfr