Platinum silicone ruined my mold, but I salvaged the laser disk
Build Your Own Aurora Borealis Projector
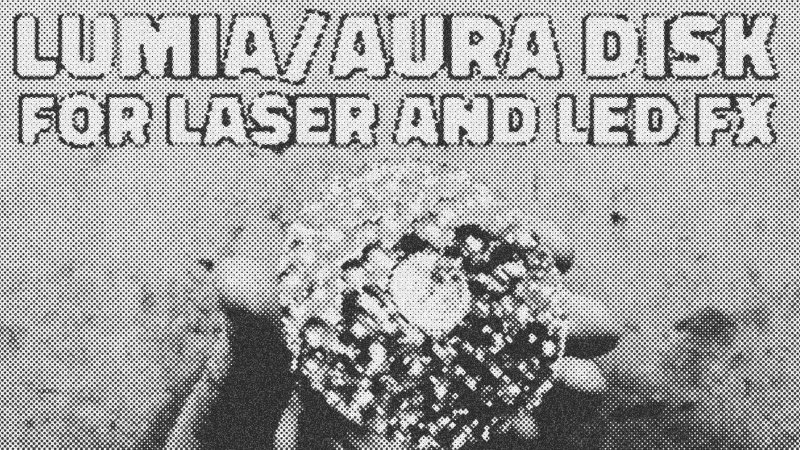
You do not need rare, expensive patterned glass to project gorgeous, warping cosmic aurora effects onto your ceiling. This guide shows you how to build a custom Lumia Distortion Disk using a 3D printed mold and liquid resin. By shining a laser or high-power LEDs through this rotating plastic disk, you will create shifting, organic interference patterns. Let us build it the right way and bypass a major chemical pitfall that catches most makers off guard.
Tools and Materials
- A 3D printer running PLA filament
- OpenSCAD software (free and open-source)
- UV Resin and a handheld UV curing flashlight
- Two-part liquid Platinum-Cured Silicone
- Slow-rotation motor (such as a modified clock movement)
- Nitrile gloves and protective eyewear
Step-by-Step Instructions
1. Print Your Base Mold
Open the custom script in OpenSCAD to generate your design. Enter your desired outer disk diameter and the mounting hub size. Render the file, export the STL, and print the master mold using standard PLA. Clean off any outstanding plastic stringing.
2. Mix and Pour the Silicone
Put on your gloves. Measure equal parts of the two-part silicone into a graduated cup. Stir the mixture slowly but thoroughly for five minutes. Pour the liquid silicone directly into your printed plastic mold, starting from one side to let it flow naturally and push out air bubbles.
3. Demold and Prep the Disk
Once fully cured, peel the silicone mold out of the plastic casing. It will have a matte, rough texture. Pour clear resin into this silicone mold to cast a flat plastic blank. Cure the blank thoroughly, then pop it out.
4. Create the Custom Lenses
Because the disk's surface is matte, it will look cloudy. You will fix this while adding optics. Place individual droplets of UV Resin directly onto the cloudy disk. These droplets act as lenses. Blast each droplet immediately with your UV flashlight to freeze it in place. The resin fills the rough texture, making those spots perfectly transparent.
The Sticky Nightmare of Cure Inhibition
Chemistry can be a brutal teacher. During development, I attempted to coat the 3D-printed master with UV Resin first to create built-in lenses before pouring the silicone. It failed. The chemicals in the cured UV glue react aggressively with Platinum-Cured Silicone, completely preventing it from curing. Days later, the mold remained a sticky, liquid soup. Avoid this disaster. Always cast a flat blank first, then build your lenses directly on the finished plastic disk.
Setting up the Light Show
Once your custom lens patterns are frozen, mount the finished disk onto your slow-rotation motor. Shine a laser pointer directly through the outer ring of lenses. As the disk slowly spins, the beams will warp and morph into stunning aurora waves on your wall.
- UV Resin
- 30%· products
- OpenSCAD
- 20%· products
- PLA
- 20%· products
- Platinum-Cured Silicone
- 20%· products
- Lumia Distortion Disk
- 10%· products
Making a laser lumia/aura effects disk - with a slight silicone disaster
Watchbigclivedotcom // 18:59

The trashiest electronic channel on YouTube. We test and use affordable electronic soldering equipment and tools to build, teardown, modify (and sometimes destroy) random electronic stuff. A British TV licence is NOT required to view my videos or almost every other video on YouTube. Many of the builds and projects featured here operate at full mains voltage and carry a high risk of shock and fire. As such they're really intended for either entertainment value or for those who do similar stuff. The videos are generally uncensored and may contain tasteless jokes, profanities and even blood and electric shocks when things go wrong. So just like a normal workshop really. So kick back, grab a beer and enjoy the ride.