Reinforced Halyard Attachments: Beyond the Bowline
The Strategy of Superior Rigging
In competitive sailing, your gear must be as resilient as your mindset. Relying on a standard Bowline or a plastic bobble is a gamble you don't need to take. UV rays turn plastic brittle, and knots can flap loose under pressure. To maintain a winning edge, we transition to the Diamond Knot and Soft Shackle system. This setup provides a double thickness of Dyneema, shielding the load-carrying core from the high-chafing environments of blocks and bowsprits.
Essential Gear for the Build
Success requires the right tools. You need a length of high-quality Dyneema for your halyard, a protective outer cover (extra core), and a splicing fid or puller. Ensure your line is clean and your workspace is clear; precision here prevents failure during a high-stakes hoist.
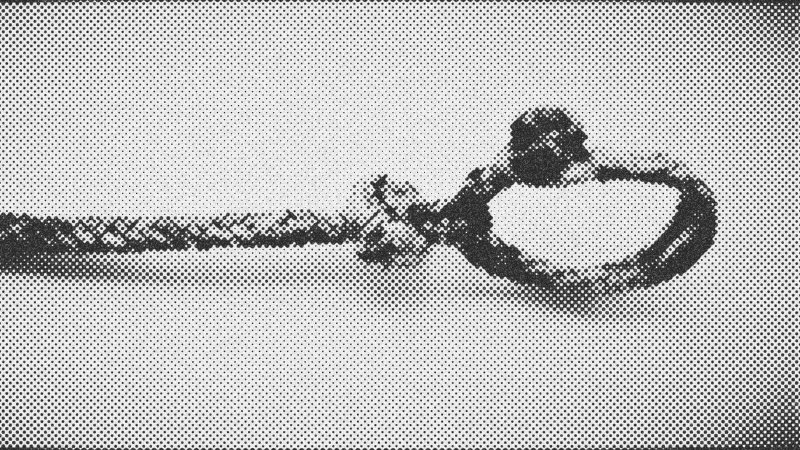
Executing the Diamond Knot
Start by tying a Diamond Knot at the end of your halyard. Begin with a clove hitch that resembles a double figure-eight. Pass the tails around and up through the center. Critically, keep the terminal loop small—this is your attachment point. Tighten the knot relentlessly. A loose knot will bleed rope once under load, compromising the entire rig.
Armor the Core
Once the knot is set, slide the protective outer cover over the halyard. Bury the main halyard inside this protective sleeve as close to the Diamond Knot as possible. This creates a sacrificial layer that absorbs friction. Secure the sleeve with a brummel lock to prevent slipping, then perform a tapered bury of the tail for at least an inch and a half to ensure a smooth, snag-free finish.
Deployment and Tactical Benefits
To finish the assembly, pass your Soft Shackle through the Diamond Knot loop and pull the noose tight. This creates a stopper that won't explode like plastic and an attachment with double the breaking strength of a single line. You now have a rig built for maximum durability and relentless performance.
- Diamond Knot
- 40%· people
- Dyneema
- 20%· products
- Soft Shackle
- 20%· products
- Bowline
- 10%· people
- Mozzy Sails
- 10%· companies
The NEW way to do Halyards :: Boat Bimbles
WatchTHE FOIL // 8:13

The Foil is a new wave of racing media. We are a fresh, all-new, proudly independent digital media brand dedicated to the sport of sail racing. Our focus is centred around the major peaks of the international sport: SailGP, the America’s Cup and the Olympic Games, plus offshore classes and events, and the diverse wider world of sailing competitions that take place around the globe. Become a member now: https://www.youtube.com/@WeAreTheFoil/join