Mastering Mother of Pearl: A Guide to Precision Inlay Techniques
Elevating Aesthetics Through Inlay
Inlay work is the art of embedding contrasting materials into a base surface to create stunning visual patterns. Whether you are adorning a guitar fretboard or the handle of the Crouching Tiger, Hidden Dragon, the goal remains the same: a seamless integration of materials that feels flush to the touch. This guide explores the process of working with Mother of Pearl, a brittle but breathtaking material that requires a steady hand and a tolerance for trial and error. You will learn how to transition from rough cuts to a polished, professional finish that celebrates the organic beauty of your components.
Essential Inventory for Inlay Work
Precision craftsmanship demands specific tools. To begin, you need high-quality Mother of Pearl blanks and a Piercing Saw for intricate detail work. For creating the recess, or "pocket," in your base material, a Dremel rotary tool equipped with a router base is indispensable. Unlike a heavy-duty DeWalt brushless router, which might be too aggressive for delicate handles, the rotary tool offers the finesse needed for tight curves. You also require thin Cyanoacrylate Glue, various grits of sandpaper, and matching wood sawdust to fill any inevitable gaps.
Carving the Pocket and Setting the Piece
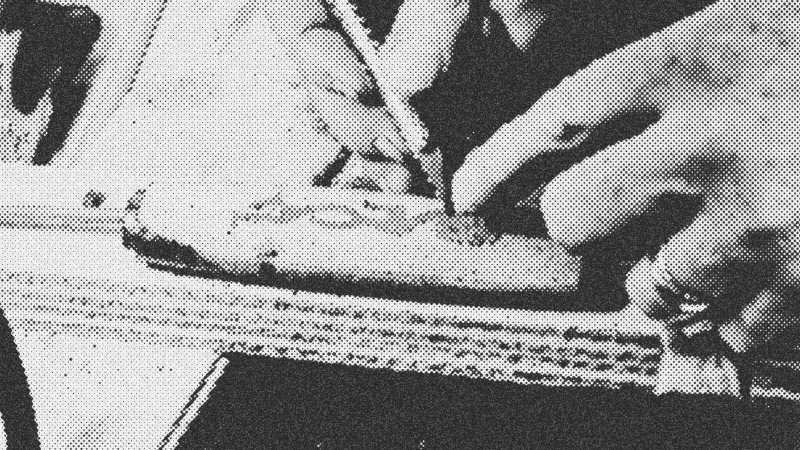
Start by tracing your precut inlay onto the target surface. Use a fine-point scribe to ensure the lines are crisp. When you begin routing, work slowly from the center outward toward your lines. If the material is stubborn, switch to a handheld rotary tool for better control. Once the depth matches the thickness of your pearl, test the fit. If the piece sits proud of the surface, don't panic. Secure it with a few drops of Cyanoacrylate Glue. To hide the "crimes" of a loose fit, pack the surrounding voids with fine sawdust from the base material before applying more glue; this creates a custom wood filler that matches perfectly when finished.
Refining the Finish and Troubleshooting
After the glue cures, the assembly will look messy. Use a sanding block to level the inlay until it is perfectly flush with the wood. If you notice remaining gaps, repeat the sawdust and glue technique. A dark stain applied at the end can help blend the filler and mask minor imperfections, making the Mother of Pearl pop against a deep background. Remember, handmade work carries an authentic charm that factory-perfect pieces often lack. Every mistake is just a lesson for your next project, such as a custom stringed instrument or furniture detail.
The Satisfaction of the Build
Completing an inlay project is about more than just aesthetics; it is about the tactile satisfaction of a smooth, finished surface. You have transformed raw shell and wood into a singular, integrated object. This process bridges the gap between rough fabrication and fine artistry, proving that with the right approach to problem-solving, even a "crude" first attempt can result in a magnificent beauty.
- Mother of Pearl
- 30%· products
- Cyanoacrylate Glue
- 20%· products
- Adam Savage
- 10%· people
- Crouching Tiger, Hidden Dragon
- 10%· movies
- DeWalt
- 10%· companies
- Other topics
- 20%
Adam Savage Makes a Sword Handle With Wood Inlay!
WatchAdam Savage’s Tested // 17:28

Adam Savage’s Tested is a content platform and community playground for makers and curious minds. On Tested.com, the highly- engaged Tested YouTube channel, and at conventions and events, dynamic makers share ideas and inspire each other to build their obsessions. Led by Adam Savage, the Tested team explores the intersection of science, popular culture, and emerging technology, showing how we are all makers. Adam also takes viewers behind the scenes of films, TV shows, theater, and museums, shining a spotlight on the craftspeople and artists who make the magic we all enjoy. Tested is also: Norman Chan, Joey Fameli, Josh Self, Kristen Lomasney and Thomas Crenshaw.