How to Create Ultra-Thin Synthetic Leather for Precision Repairs
The Art of Textured Restoration
Restoring historical artifacts often requires materials that don't exist in a modern catalog. When repairing a 19th-century Business Ledger, professional conservators like Allison Holcomb at the National Park Service Museum Conservation Lab bypass off-the-shelf options. Instead, they manufacture custom synthetic leather using Silicone Molds and acrylics. This technique focuses on how light interacts with a surface—capturing the exact grain, sheen, and "bounce" of the original material to create a seamless visual patch.
Essential Materials and Tooling
You don't need a high-end workshop to execute this, but you do need high-quality pigments. Stick with Golden Acrylics; they are famously light-stable, meaning your repair won't shift color over decades of exposure. You will also need a silicone texture pad—cast from real leather, muslin cloth, or even a Cutting Mat depending on the grain required. For the structural backing, use a high-durability Japanese repair paper or a thin spun-bond polyester like Holotex.
Step-by-Step Fabrication
- Prepare the Mold: Lay your silicone texture pad on a flat surface. Ensure it is free of dust or debris that could ruin the micro-detail of the grain.
- Apply the Base Layer: Brush a thin, even coat of heavy-body acrylic paint directly onto the silicone. Avoid excessive brush strokes; you want the paint to settle into the mold's crevices. Use a blow dryer to accelerate drying until the surface is no longer tacky.
- The Secondary Color Layer: Apply a second coat of paint. This is your chance to add depth. Using a contrasting color—like a raw sienna over a darker brown—creates a realistic, multi-tonal finish common in aged hides.
- Bonding the Backing: While the second layer is still wet, press your repair paper or polyester backing into the paint. Use a pouncing motion with a dry brush to ensure the paint saturates the fibers of the backing.
- The Final Peel: Once completely dry, slowly peel the backing away from the silicone. The paint will remain bonded to the paper, perfectly carrying the texture of the mold.
Troubleshooting and Refinement
If you see brush marks in the final product, your paint layer was likely too thick or worked too hard while wet. Focus on "pouncing" the paint into the mold rather than dragging the brush. If the sheen doesn't match the original artifact, you can apply a matte or gloss medium over the finished piece. For extremely delicate work, you can even skip the paper backing entirely and use a skin of pure dried acrylic for fills that require zero added thickness.
The Professional Outcome
This process yields a repair material that is thinner than standard copy paper but incredibly resilient. By controlling the pigment and texture, you can replicate leather, bookcloth, or even specialized grains that have been out of production for a century. It’s a pragmatic, hands-on solution for anyone needing to bridge the gap between historical craftsmanship and modern durability.
- Adam Savage
- 11%· people
- Allison Holcomb
- 11%· people
- Business Ledger
- 11%· products
- Cutting Mat
- 11%· products
- Daisy Greenwell
- 11%· people
- Other topics
- 44%
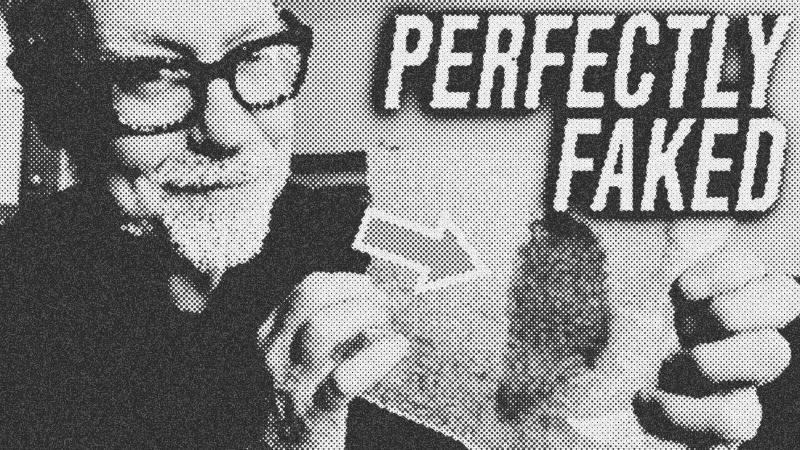
Adam Savage Makes "Leather" Out of Silicone
WatchAdam Savage’s Tested // 14:01

Adam Savage’s Tested is a content platform and community playground for makers and curious minds. On Tested.com, the highly- engaged Tested YouTube channel, and at conventions and events, dynamic makers share ideas and inspire each other to build their obsessions. Led by Adam Savage, the Tested team explores the intersection of science, popular culture, and emerging technology, showing how we are all makers. Adam also takes viewers behind the scenes of films, TV shows, theater, and museums, shining a spotlight on the craftspeople and artists who make the magic we all enjoy. Tested is also: Norman Chan, Joey Fameli, Josh Self, Kristen Lomasney and Thomas Crenshaw.