Custom Machining Cast Acrylic: Building Heavy-Duty Workshop Tool Trays
Organizing the Workflow with Custom Trays
A messy workspace isn't just an eyesore; it’s a performance killer. When working with a Pantograph Mill, precision and rhythm are everything. I recently realized that while the machine itself is a masterpiece for replication, it lacked a dedicated space for the very bits and wrenches that make it function. To solve this, I’m building two heavy-duty tool trays out of 1-inch thick Cast Acrylic. These trays aren't just for show; they provide a stable, visible, and removable staging area for hardware, ensuring every collet and cutter is exactly where it needs to be when the spindles start spinning.
Tools and Materials for the Build
To tackle this project, you need materials that can handle the stresses of machining without melting. Cast Acrylic is the gold standard here—unlike extruded versions, it doesn't gum up your blades. You will also need a table saw for the rough cuts, a milling machine or drill press for pocketing, and high-strength magnets for the mounting system. If you run into a machining error like I did, UV Cure Resin Glue and a UV Beast Flashlight are essential for a quick, structural repair. Finally, a set of Neodymium Magnets will serve as the invisible anchors for the tray base.
Machining and Magnet Installation
Start by squaring your stock on the table saw. For a 16x6 inch tray, Cast Acrylic offers incredible clarity and heft. Once cut, move to the mill to drill the mounting holes for the magnets. I prefer a press-fit approach. By drilling the holes slightly undersized—roughly by a few thousandths—you can use your mill's spindle as a makeshift arbor press to drive the Neodymium Magnets home. This creates a permanent, mechanical bond without messy adhesives. These magnets allow the tray to snap onto the machine's steel surfaces with enough force to stay put during vibration but remain easy to pop off for cleaning.
The Rescue: Repairing Acrylic Errors
No build is perfect. During a climb cut, the bit can grab the material and gouge a hole where you didn't intend one. Don't scrap the piece. You can save hours of work by using UV Cure Resin Glue. I applied a piece of aluminum as a mold release on the bottom, filled the gouge with resin, and hit it with a UV Beast Flashlight. The resin hardens in seconds, bonding to the acrylic and filling the void. After a quick scrape to level the surface, the repair is almost invisible and the structural integrity is restored. It’s a pragmatic solution that keeps the project moving.
Optimizing for the Long Haul
The final step is the most satisfying: layout. I drilled specific diameter holes into the tray to hold my most-used bits and bobs. The beauty of using clear acrylic is the transparency; you can see exactly what's underneath the tray, and the thick 1-inch walls provide a sense of permanence. These aren't just flimsy plastic bins; they are tailored components of the machine itself. By investing the time to build custom shop infrastructure, you reduce the friction of your creative process. Now, when I fire up the Pantograph Mill, I’m not hunting for tools—I’m just making chips.
- Cast Acrylic
- 23%· products
- Neodymium Magnets
- 15%· products
- Pantograph Mill
- 15%· products
- UV Beast Flashlight
- 15%· products
- UV Cure Resin Glue
- 15%· products
- Other topics
- 15%
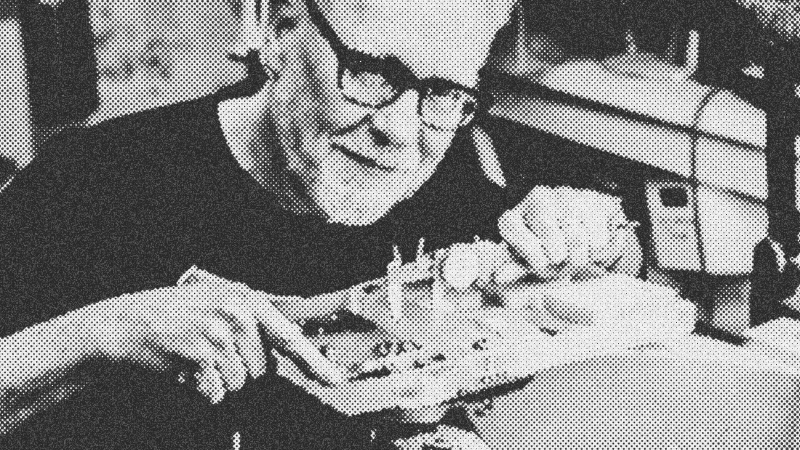
The Joy of Machining a Solid Acrylic Tool Tray
WatchAdam Savage’s Tested // 24:56

Adam Savage’s Tested is a content platform and community playground for makers and curious minds. On Tested.com, the highly- engaged Tested YouTube channel, and at conventions and events, dynamic makers share ideas and inspire each other to build their obsessions. Led by Adam Savage, the Tested team explores the intersection of science, popular culture, and emerging technology, showing how we are all makers. Adam also takes viewers behind the scenes of films, TV shows, theater, and museums, shining a spotlight on the craftspeople and artists who make the magic we all enjoy. Tested is also: Norman Chan, Joey Fameli, Josh Self, Kristen Lomasney and Thomas Crenshaw.